Prerequisites
- You must be using a Windows Operating System
- If you RDP into a Windows office machine, this feature does not work for installing the eToken onto a flashdrive. You must do this on a local windows machine. Otherwise, this feature works.
- If you RDP into a Windows Office machine and intend to enroll the eToken on the remote machine, you can use the virtual eToken on the remote UofT server (only that remote computer has access to the virtual eToken).
- You must be connected to a UofT network. Those with a home machine must connect to
general.vpn.utoronto.ca using Cisco AnyConnect - You must have SafeNet Authentication Client installed on your windows machine
- You must have SafeNet Authentication Manager installed on your windows machine (this is different from SafeNet Authentication Client)
- You must install Internet Explorer as self-service is most supported there. In Internet explorer, you must add https://ekey.utoronto.ca/samservice/ to “Trusted Sites”:
- On Internet Explorer click on the gear, next to the smiley face
- Click on “Internet Options”
- Go into the “Security tab”, click on “Trusted sites”, then click on “Sites”
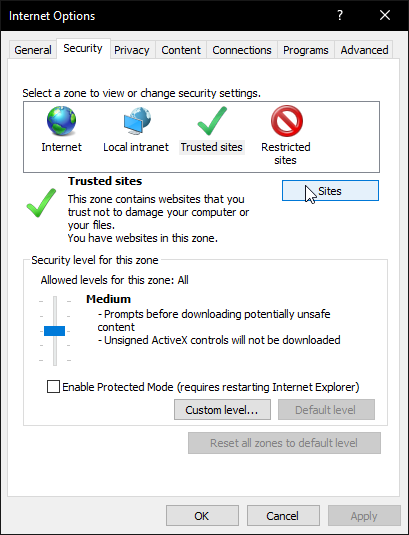
- Put “https://ekey.utoronto.ca” to “Add this website to the zone:” and click on “Add”. Click on “Close” then “OK”.
Instructions
- Provide your UTORid to auth.admin@utoronto.ca for server side configurations, and wait for confirmation from auth.admin@utoronto.ca before proceeding.
- Go to https://ekey.utoronto.ca/samservice/ on Internet Explorer and login using your UTORid and password
- If you have an eToken plugged in you may see some variant of the below:
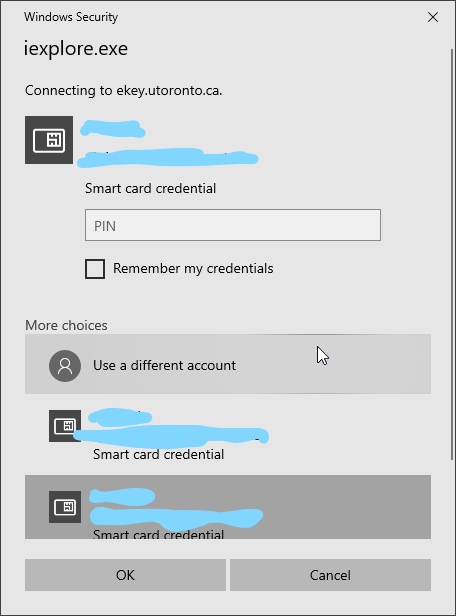
- On the “User name” field, type: ad\[Your UTORid]
- On the “Password” field, type in your password
- Otherwise, if you do not have your eToken plugged in, you will see the following prompt
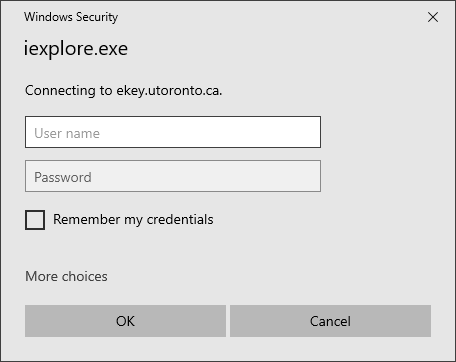
- On the “User name” field, type: ad\[Your UTORid]
- On the “Password” field, type in your password
Click on “More choices”, then click on “Use a different account” to login
- If you have an eToken plugged in you may see some variant of the below:
-
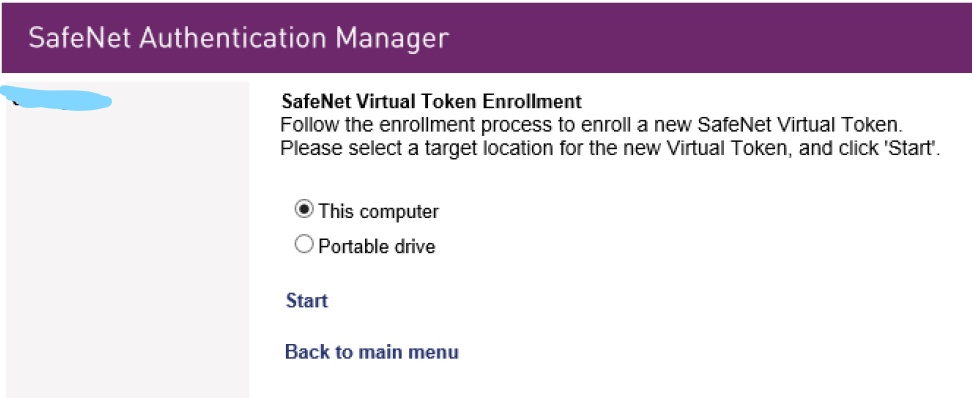
You will then be greeted by this screen:
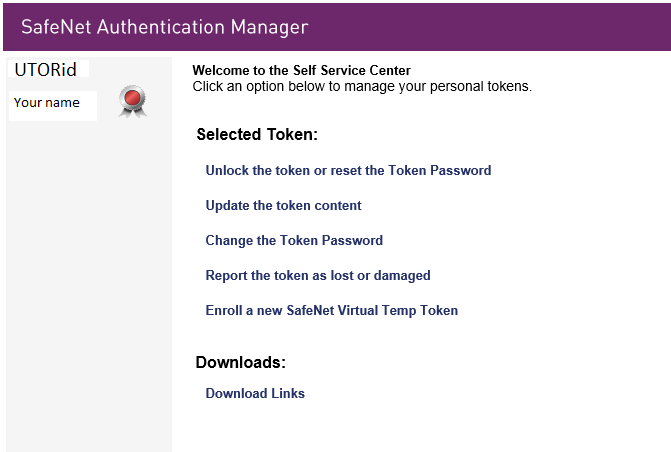
- Click on “Enroll a new SafeNet Virtual Token”
Note: The virtual eToken cannot be moved to another device. If it is enrolled on the computer, then it can only be used on that computer. If it is enrolled on a portable drive, it can be used on other computers, same as smart card.
If you selected “Portable drive”, you need to connect to a portable drive (such as a flash drive) to your computer before you move onto the next step
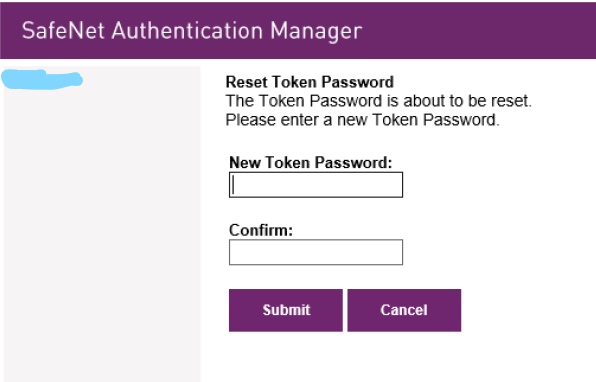
- Enter a new eToken password for the virutal eToken, which will be required when using this virtual eToken.
- Change the token name to your first and last name so that it is easily identifiable. The token name is the name of the token displayed on SafeNet Authentication Client and the SafeNet Authentication Manager
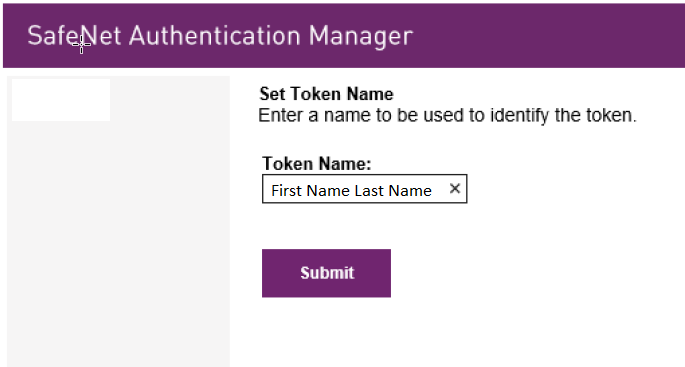
- After clicking “Submit”, the system will take a few minutes to complete the enrollment. When the enrollment completes, you should be able to see a variant of the token as follows:

If you have any concerns or inquiries, please contact us.